
AviSynth Install
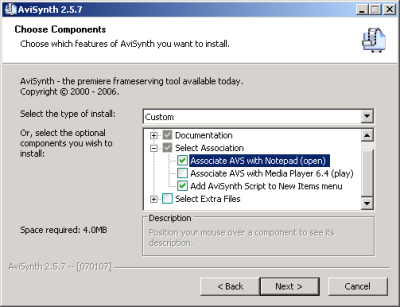 MeGUI installs most of the required tools for you, but you'll want to make sure you have AviSynth installed first. If you want to work with AviSynth outside of MeGUI you should look at the options for the installer. In particular, the Select Association options add items to context (right click) menus within Windows Explorer.
MeGUI Install
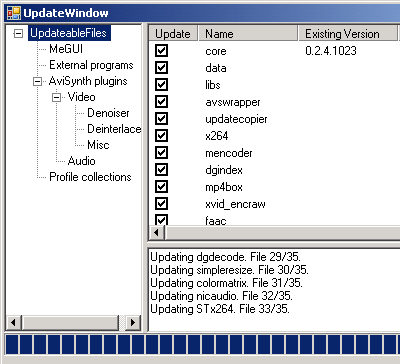 Running MeGUI requires having Microsoft's .NET Framework 2.0 installed. Once that's installed the MeGUI installer is very straight forward. When MeGUI is installed you should run it right away. MeGUI will immediately check for updates to various components. Click the Yes button and the updates will be downloaded. Most files will be put in subfolders of C:\Program Files\megui\tools.
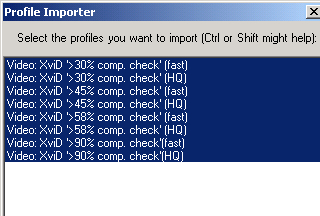 After the updates are downloaded, the Profile Importer window will appear. Profiles are pre-configured settings for encoding video or audio. Even if you don't want to use these settings you can still create your own profiles based on them. To download all the profiles listed in the window click on the first (top) item in the list to highlight it. Then scroll to the bottom of the list, hold down your Shift key and click the last item. The first window will list x264 profiles. They won't be used in this guide, but it's a good idea to get them anyway. The next 2 lists in the Profile Importer are the ones you'll want for this guide - Audio and XviD. Once you've finished downloading profiles you'll be prompted to restart MeGUI. If you plan to install either ffdshow or the Nero AAC Encoder you shouuld close it again. If you're not installing either one right now you can skip the next two steps.
Nero AAC Encoder
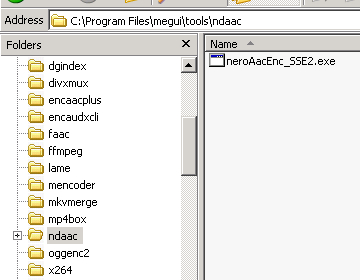 One option for re-encoding audio in MeGUI is to use the free Nero Digital (AAC) encoder, however it doesn't come with MeGUI and the auto-update feature won't download it. Once you download it you should create a folder called ndaac under C:\Program Files\megui\tools to put it in. The download will be a zip file containing four programs called neroAacDec.exe (AAC decoder), neroAaCEnc.exe (AAC encoder for *non-SSE2 enabled computers), neroAacEnc_SSE2.exe (AAC encoder for *SSE2 enabled computers), and neroAacTag.exe (tagging for AAC files). After you unzip the archive, put either neroAacEnc.exe or neroAacEnc_SSE2.exe in the ndaaC folder you created.
*Intel CPUs from the Pentium4 on have SSE2 support. AMD 64 bit CPUs also support it. The SSE2 version of the Nero AAC encoder will be faster, but won't work with non-SSE2 CPUs.
Written by: Rich Fiscus
