
| MeGUI Installation and Configuration | You are viewing Page 2 of 3 -- Go to page 1 , 2 , 3 |
Installation and Updates
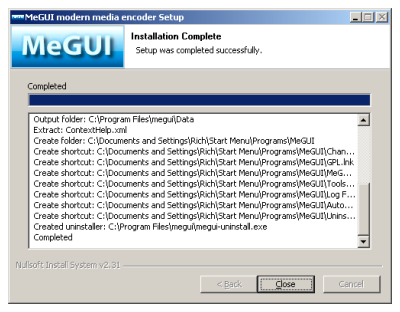
Installation of MeGUI is completely automatic. Simply agree to the license and install location. When it's finished, if you've kept the defaults you'll have a new folder, 'C:\Program Files\megui' containing MeGUI itself, plus folders for working files and tools still to be updated, which is the next thing we'll do.
MeGUI Updates
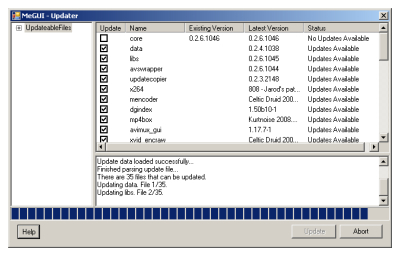
The first time you run MeGUI you should get a message tellling you that there are updates available. Click the Yes button to continue on to MeGUI's Updater dialog. You'll be presented with a list of software for which updates are available. If you're using the latest version of MeGUI 'core' will be unchecked. Since none of the other components are included in MeGUI's installer this is an essential step. MeGUI doesn't include encoding capabilities of its own. Rather it relies on other tools, most of which will be downloaded to the appropriate directory using the Updater. No additional configuration is necessary for these tools, and its recommended that you leave all of MeGUI's selections intact.
x264 (AVC) Profiles
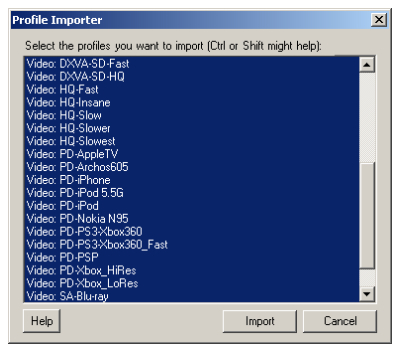
Depending on your internet connection speed this may take a little while. Eventually you'll be prompted with the Profile Importer dialog. Scroll to the bottom of the list and click on the bottom entry while holding down your
Additional Profiles
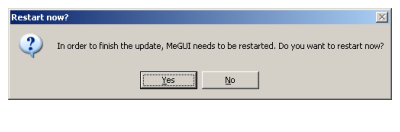
Like their video counterparts, audio settings can be saved in XML profiles, which will be the next option to import. Once again you can select all profiles by Shift-Clicking on the bottom one. Finally you'll get the option to import XviD profiles. In order to load the newly imported profiles MeGUI will need to restart afterwards.
The Nero AAC Encoder
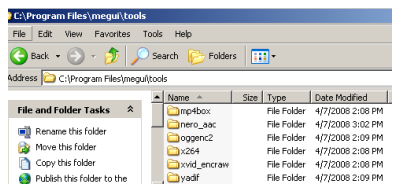
If you're planning to use the Nero AAC encoder you'll need to download it directly from Nero's website, which you may have already done. After downloading the updates you should have a number of new folders under 'C:\Program Files\megui\tools.' You'll want to make a new folder here for the Nero encoder. I call mine 'nero_aac.' You can then copy either 'neroAacEnc_SSE.exe' or 'neroAacEnc.exe' from the Zip file you downloaded. Unless you have a very old computer you should use the SSE version. On the next page you'll learn how to configure MeGUI to use this command line program to encode your audio.
BeSplit
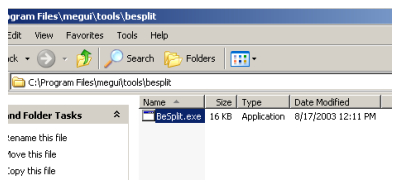
Among the files found in the Zip fie you downloaded for BeSplit will be 'BeSplit.exe.' As with the Nero encoder you'll want to create a new folder to put this file in. On the next page we'll look at how to configure MeGUI to use BeSplit.
Continued On Page 3Next we'll look at some basic MeGUI options. These settings help MeGUI automatically configure various source and encoder settings for you. Page 3 - General Options | |
| MeGUI Installation and Configuration | You are viewing Page 2 of 3 -- Go to page 1 , 2 , 3 |
Using MeGUI From HereAt this point no further configuration is necessary for most video encoding. You can simply load your source, select the desired profile and encode. |
Written by: Rich Fiscus
