
Settings and Ripping
Settings
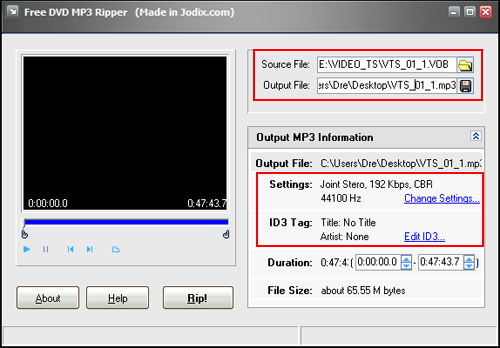
You will now be greeted with a new screen in which we have some settings to examine. First off is the Output File setting where you can choose where to save your file to. For myself, Ive chosen the desktop as its the easiest to find after the operation completes. The next setting is the Output MP3 settings. Click on Change Settings so we can explore what can be changed.
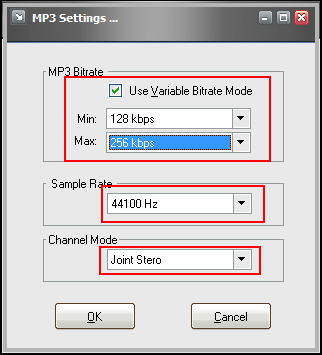
The MP3 settings window has a few setting we will want to change. The first is check off the Use Variable Bitrate mode option and set Min to 128kbps and Max to 256kbps. By doing this, the audio bitrate will be more evenly distributed for louder parts as compared to silent parts where higher bitrate is not necessary.
For the next setting make sure the sample rate is 44100 Hz and finally make sure the Channel Mode is Joint Stereo. (Unless of course you want mono :))

The next setting to change is the ID3 tagging of the output MP3. Hit Edit ID3 and a new window will show up. For this part I would recommend to only put a title and make sure you put some kind of indicator so you know it is the first part. When you are done, hit OK and begin the process by hitting RIP!. Depending on the speed of your computer this could take a little while (usually not more than 10 minutes though) but if you are impatient find something else to do and come back within 10 minutes.
Repeat the same steps for all the rest of the pieces and then head on to the next page to learn how to combine them.
Written by: Andre Yoskowitz
