
Installing SUPER

SUPER's installer is very straight forward. One quirk of the program is that by default it places two sets of shortcuts on the Windows Start Menu. One is in the SUPER folder, while the other, including shortcuts to both the program and uninstaller, is located in the main list of programs. I prefer to stick to just the single set of shortcuts in the SUPER folder, so I uncheck Programs Menu. This is simply a personal choice, and there's no harm in keeping the default options.
Running SUPER for the First Time
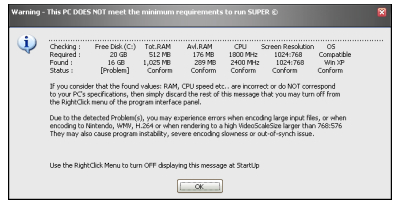
When you start SUPER for the first time it will automatically check some system properties to make sure you'll be able to use it to its full capabilities. Specifically it checks your free hard drive space (on the C drive only), your computer's total and available RAM, CPU speed, display resolution, and operating system. If your computer fails any of these tests, like mine did with for disk space, you'll be warned. In my case the problem is that my free disk space is all located on the D drive, which SUPER doesn't check. Fortunately you can turn this check off if you don't need to see it (like me) when you're doing your basic configuration.
The Menu
SUPER only has a single menu, which can be accessed from anywhere in its window with a right-click of your mouse. There are a number of settings you may want to take a look at. Some options open additional dialogs for configuration, while others are simple on/off settings. The current state of such options is indicated by the presence or absence of a checkmark.
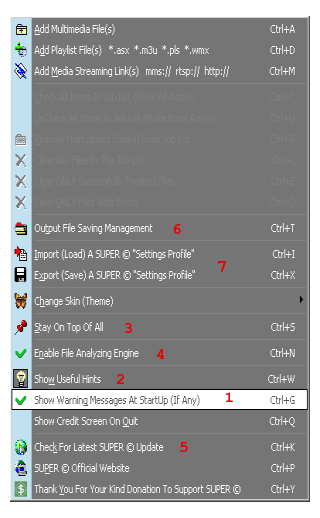
1. Show Warning Messages at Startup
Uncheck this if you're getting error messages that you know are incorrect. In my case I got a free disk space warning that doesn't matter because I don't use the C drive for storing or processing files. This is a on/off setting, as indicated by the checkmark.
2. Show Useful Hints
Useful Hints are SUPER's name for tooltips, which are displayed for a number of input fields and other settings in the main interface when you hold the mouse pointer over them. Unlike many (most?) programs, SUPER's tooltips really are more like Useful Hints, and if you're ever unsure what a particular control or field is for you can turn them on and get a pretty good idea.
3. Stay On Top Of All
Just as the name implies, this forces SUPER to stay in front of other windows as long as it's open. Although not generally necessary, it can be useful if you want to switch to other programs (windows) while keeping an eye on whatever SUPER is doing.
4. Enable File Analyzing Engine
Although SUPER can do many things for you, it's still important that you have access to some information about your source files to base decisions about output settings off of. You can get this by letting SUPER analyze the files for you, after which it will present a detailed summary which generally includes everything you need to know in order to setup an encoding job correctly. As a rule you should always leave the Analyzing Engine enabled.
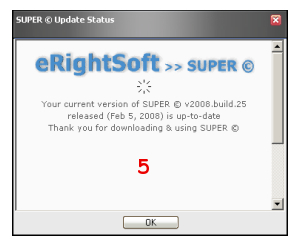
5. Check For Latest SUPER Update
Using this option, SUPER will check to see if a newer version is available. You can also check Afterdawn's Download page for SUPER.

6. Output File Saving Management
You can specify default location for SUPER to save output files to. If you have multiple hard drives it's a good idea to keep your input and output files on a drive other than the C drive. You can opt to save output files in the same directory as the source files. Although this could potentially slow things down a little, in reality most encoding is so CPU intensive that it's never a factor. Filenames can have spaces replaced by underscores.
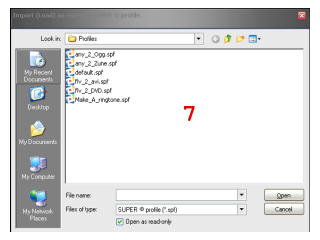
7. Profiles
Profiles are settings suitable for a particular encoding job. SUPER includes a few profiles that you can load to get started. You can also save your own profiles if you have custom settings you'd like to reuse. The menu options to Import (Load) A SUPER Settings Profile, and Export (Save) A Super Settings Profile are used for this. All video and audio settings will be saved in your profile.
Next: Encoding With SUPER
Written by: Rich Fiscus
